Your Cart is Empty

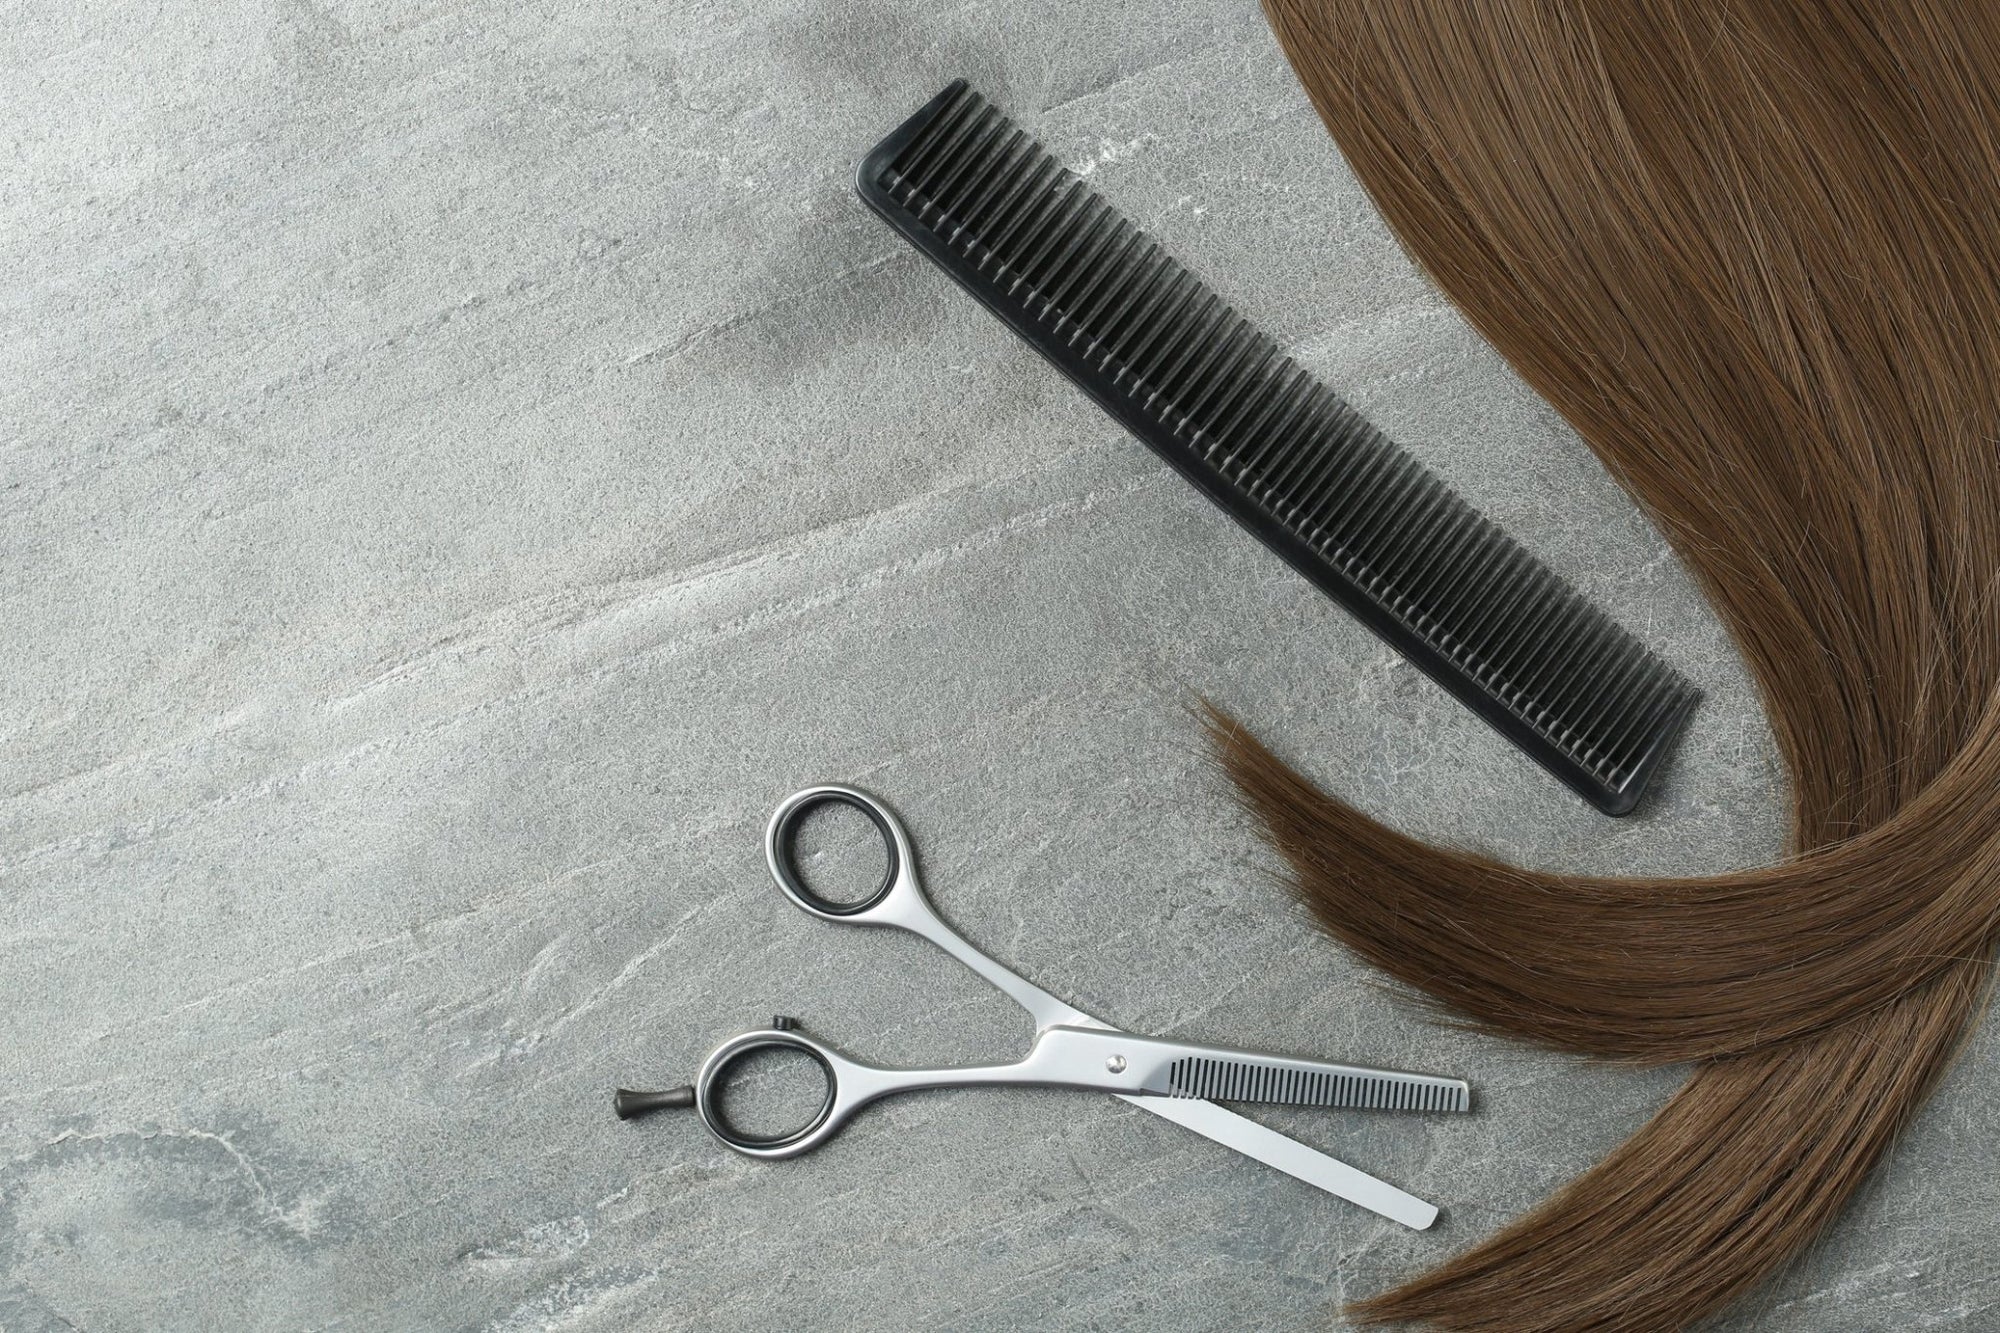
Everyone knows what a pair of haircutting scissors is, but what are thinning scissors and how do you use them?
In this article, we will focus on how to use thinning scissors in a salon, barbershops, or even at home, on all types of hair.
Thinning scissors are one of the most misunderstood tools in the hairdressing industry. Find out when and how to use thinning scissors for thick, curly and all other types of hair.
Table of Contents.
There three main things to consider when using thinning scissors:
- the type of hair your are thinning
- the type of thinning scissor you are using
- how to hold and actually use the thinning scissor
- We cover how to hold, how to use thinning scissors at home and how to use thinning scissors on men and women. Without wasting anymore time, let’s get started!

Let’s just right into learning about thinning scissors and how to use them in a professional salon or barbershop environment, or at a school, apprentice course or at home.
Step 1: What type of hair are you thinning?
The main purpose and use of thinning scissors is to thin out hair. When a client comes in with thick and bushy hair, may want to thin out hair to give more style.
Hairdressers, barbers and hairstylists use thinning scissor techniques to:
- blend your hair between different sections (long and shorter areas)
- removing excess weight from thicker sections of hair
- softening hairlines
When you start hairdressing, you will use a haircutting scissor, and then at the  end, you may use thinning scissors to style.
For people with thicker, stronger and curlier hair, thinning scissors are a great tool to lighten your hair during summer, and just removing the extra weight in general.
For people with thinner hair, you might only need to use thinning scissors to blend sections of hair (different lengths) together; for more styling than losing any weight to your hairstyle.
Read more about our complete Hair Thinning Scissor Guide!
Step 2: What type of thinning scissors are you using?

Thinning scissors are unique as they use teeth to thin out hair. The different amount of teeth on your thinning scissors will change the cut-away or thinning ration.
The standard thinning scissor has between thirty and forty teeth, and also gives a thinning ratio of 30-35%.
The three main types of thinning scissors include:
- 20 to 30 teeth thinners: texturizing and blending
- 6 to 12 & 30 to 40 teeth thinners: thinners that remove heavy weight
- 14 to 20 teeth thinners: blending and finishing
For people looking to texturise and blend, then you will be looking for scissors with around 20-25 teeth. Every hairdresser has their preference and can generally perform texturising or thinning techniques on whichever thinning scissor they feel comfortable with.
For situations when you have dense clusters or thick hair, the chomper thinners are great at removing chunks of hair to allow for a lighter feel and look.
If you are looking to use a thinning scissor, but are unsure of which one to choose, then try to go for 30 teeth as a general standard.
Read more about the Different Types Of Hairdressing Scissors Here!
Step 3: How to hold and use thinning scissors

Before you start thinning hair, it is important to learn how to hold your scissors properly. A comfortable and firm grip on your scissors will reduce any strain or pressure on your fingers and wrist while thinning hair.
The grip and way to hold hair scissors like a professional hairdresser or barber involves positioning your fingers and thumb properly, and also which muscle to use to comfortably open and close your thinning scissors.
The steps to hold your hair thinning scissors is:
- Place your ring finger inside the smaller hole
- Place your thumb in the in the larger hole
- Your pinky finger resting on the handle’s hook
- Your middle finger and index finger resting on the handle
- Then you your thumb to open and close the thinning scissor blades
- The proper and best way to hold you scissors is a simple one. This method is called the Traditional Western Grip, and it is the same way that most hairdressers will hold their scissors.
The blade with teeth on your thinning scissors must always face upwards towards the ceiling while in use.
Read more about How Do Hairdressers Hold Their Scissors?
Step 4: How to use thinning scissors

Once you know what type of hair thinning scissors you have, how to hold them, then the rest is easy!
When you are thinning hair, you can simply grab a section of thick and bushy hair between your middle finger and index finger, then open and close the thinning scissors under your fingers.
You can also use a hair comb and thin the sections of hair coming through the top of the comb’s teeth.
Both thinning methods are effective and used by professional hairdressers and barbers in Australian salons and barbershops.
After finishing the main part of your haircut, you can use the thinning scissors or texturising shears to style, shape and remove any excess hair.
Step 4.1: How to use thinning scissors to blend

You can use thinning scissors or texturising shears to blend hair.
Blending hair is where you have two sections of hair, each one with a different length, and you use the thinning or texturising scissors to blend the section of hair where the two lengths meet.
- At the end of your haircut, dry your hair and hold your thinning scissors with your dominant hand.
- Either use you index and middle finger or a comb to hair located between the two sections you wish to blend.
- Open the thinning scissor blades and in one smooth motion close it with the hair in between.
- Repeat this process at the middle point where the two different sections of hair meet.
- How to use thinning scissors to remove thick hair and texturise
- Either at the end of the haircut or at the beginning, make sure the hair is combed straight downwards. There should be no knots or tangled sections of hair.
- Locate the section of hair you wish to thin and you can either use your index and middle finger to grab hair or use a comb.
- Hold the thinning scissors in your dominant hand and open the blades. Position the scissors one or two inches above your fingers or comb, so you are thinning slightly away from the section you have grabbed.
- In one smooth gliding motion, move the open blades to the hair and close. The gliding motion is similar to how you would brush or comb your hair.
- Repeat across the whole section of thick hair you are looking to thin.
Read more about How To Blend Hair With Thinning Scissors
Step 4.2: How to use thinning scissors at home
Using thinning scissors at home can be a great idea if you are looking to maintain your hair, or give someone else a haircut.
If you are a beginner, then we recommend thinning less than you want, as removing too much hair makes it difficult to repair any damage.
The simplest and easiest way to thin hair at home is by blending two sections together at the end of your haircut. This can be difficult to thin your own hair, so try using a mirror or asking someone at home to help.
Read more about The Best Scissors For Cutting Hair At Home!
This article was researched and referenced from the best sources:
- Japanese Thinning Scissor Guide| Read Here At Japan Scissors
- Collection of Hair Thinning Scissors in the USA | Read Here JP Scissors USA
- Wiki Guide To Using Thinning Scissors | Read Here WikiHow
- How Thinning Scissor Guide America | Read Here Byrdie